Automating Your Home With NFC
This time I bring you an easy and quick build to help with your automations in Home Assistant. If you don’t know yet Home Assistant is a great way to aggregate all your connected devices in your home in a simple and yet powerful way. Go to the official website and get your own, it’s easier than you think!
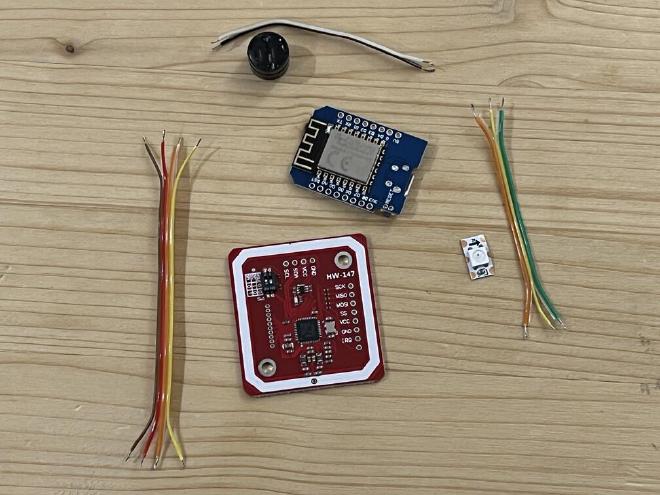
This build is very straightforward with the information from https://github.com/adonno/tagreader and https://www.home-assistant.io/integrations/tag. Basically, get the components from the list, connect them as show in the diagram and upload the code with ESPHome. All you need is in adonno’s github, you can’t miss it.
For the components I went to Amazon because I like the speed of delivery but you probably can get better prices in AliExpress or similar. I paid about 50€ for the components to build 2 readers and 20 blank cards.

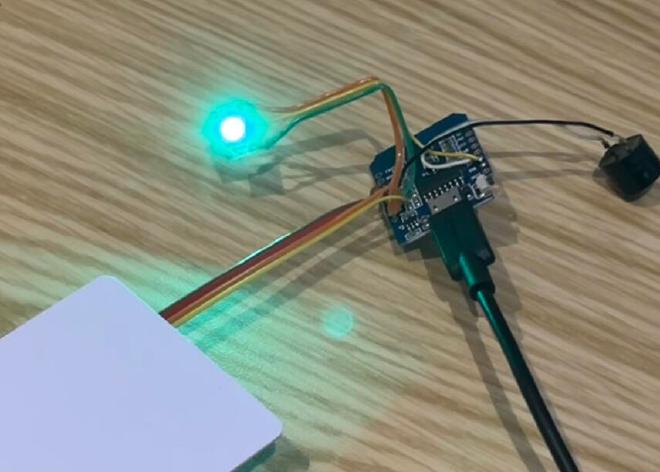
The truth is that the tag reader from adonno is very well thought: it has an RGB LED and a buzzer to provide feedback of the current operation. For example: it will display green and play a nice sound when a tag is read. Or it will flash blue when it connects to Home Assistant. There are many statuses with with visual or sound feedback. And if you don’t like either of them, they can be disabled (independently) from Home Assistant.

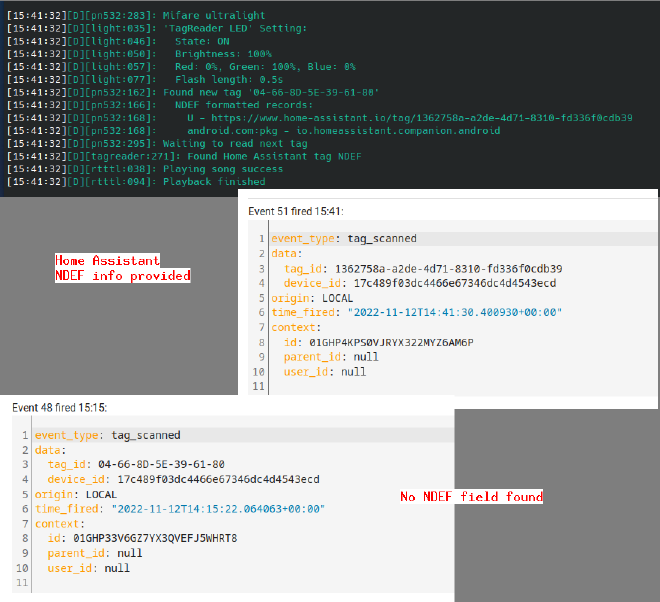
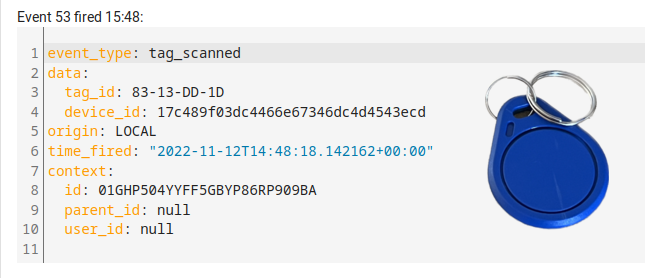
When the tag reader scans an NFC card it would send the ID of the card to home assistant in the event tag_scanned. If the NFC has the NDEF record from home assistant, it would extract the UUID from the URL and send that instead of the card ID.

This has multiple benefits over sending always the ID, as the part that is writable in the NFC tag is usually the NDEF records, you could replace a lost tag by writing the same UUID in another tag of the same type. If you were using the tag’s ID you should update your scripts to accept the new ID. Another benefit could be to run the same script for two tags (by storing the same NDEF record), again the alternative is to modify the script and include an OR condition.
With the read-only tags and old ones is not that simple and you are limited to using the ID. But still is pretty useful.

Now for the automation part: that is completely open and up to you. Reading a tag is just an event and the information provided is the tag ID and the reader ID. With those two you can run any action your home assistant is integrated with: it could open a door (I don’t advise that) or activate a scene. In the home assistant webpage, they have a nice example of how to create a jukebox with tags: check it out.
What would you do with 2 tag readers and 20 tags?
Back in a bit!